Neovim
Neovimの使用方法メモ
詳細
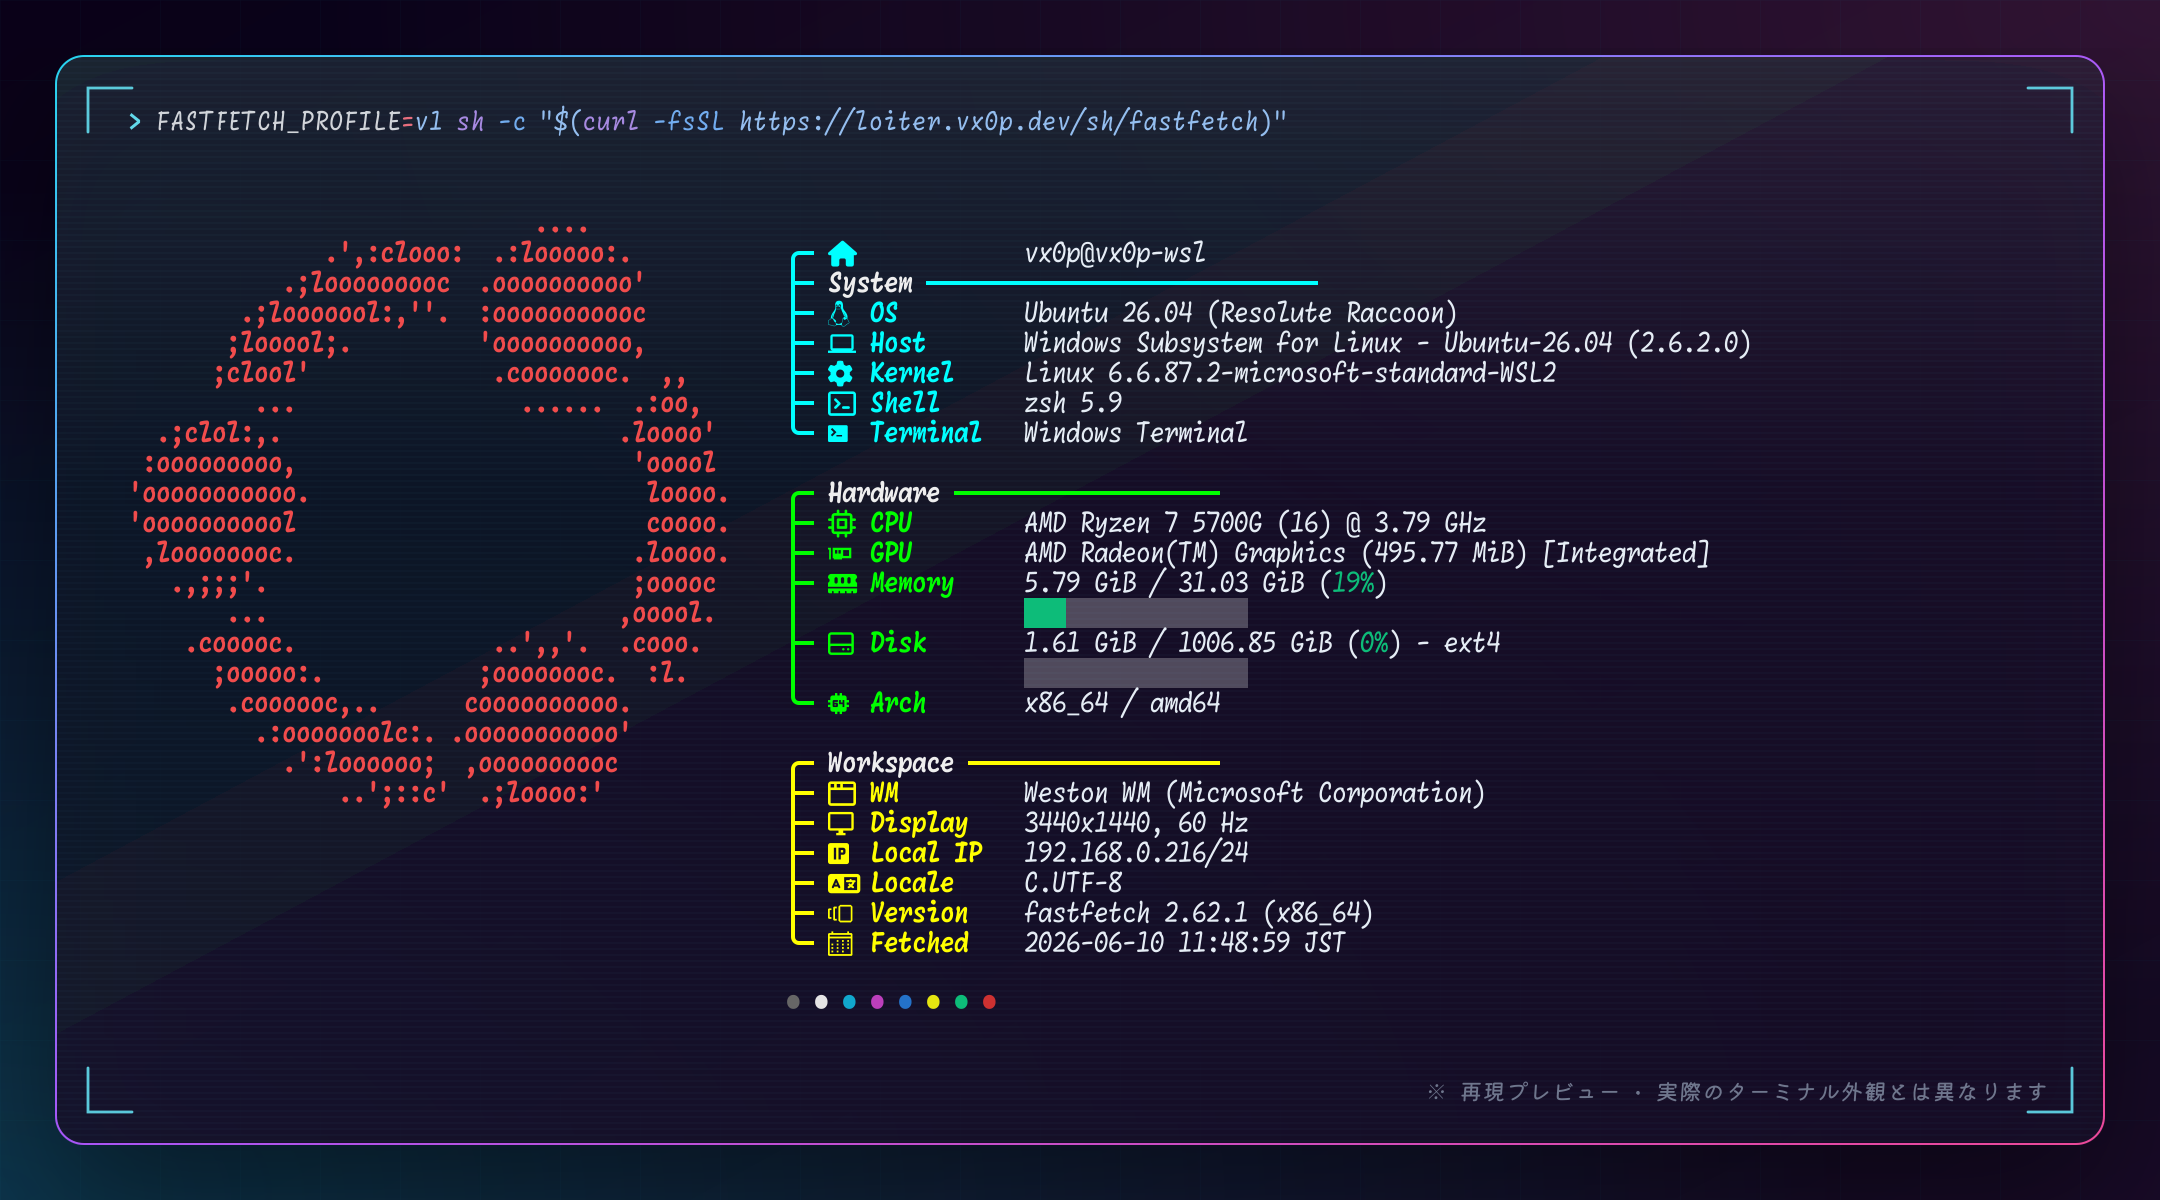
- OS
- Ubuntu 26.04
- Platform
- WSL2
- Host
- Windows Subsystem for Linux - Ubuntu-26.04 (2.6.2.0)
- Kernel
- Linux 6.6.87.2-microsoft-standard-WSL2
- Shell
- zsh 5.9
- Terminal
- Windows Terminal
- CPU
- AMD Ryzen 7 5700G
- GPU
- AMD Radeon(TM) Graphics [Integrated]
- Memory
- 31.03 GiB
- Disk
- 1006.85 GiB - ext4
- Arch
- x86_64 / amd64
- WM
- Weston WM (Microsoft Corporation)
- Display
- 3440x1440, 60 Hz
- Locale
- C.UTF-8
- fastfetch
- 2.62.1
- Command
- FASTFETCH_PROFILE=v1 sh -c "$(curl -fsSL https://loiter.vx0p.dev/sh/fastfetch)"
参考
- インストール: https://neovim.io/doc/install/#ubuntu
- Luaでのオプション設定: https://neovim.io/doc/user/lua-guide.html#lua-guide-options
- 各オプションの詳細: https://neovim.io/doc/user/options.html
- キーマップと
<Leader>: https://neovim.io/doc/user/lua-guide.html#lua-guide-mappings, https://neovim.io/doc/user/map.html#mapleader - 自動コマンドとAPI: https://neovim.io/doc/user/lua-guide.html#lua-guide-autocommands, https://neovim.io/doc/user/api.html#nvim_create_autocmd()
- LazyVim starter: https://github.com/LazyVim/starter
- LazyVimのRequirements: https://www.lazyvim.org/
- LazyVimのインストール: https://www.lazyvim.org/installation
- LazyVimの設定構成: https://www.lazyvim.org/configuration
- lazy.nvim: https://lazy.folke.io/
インストール
sudo apt update
sudo apt install curl

curl -LO https://github.com/neovim/neovim/releases/latest/download/nvim-linux-x86_64.tar.gz
sudo rm -rf /opt/nvim-linux-x86_64
sudo tar -C /opt -xzf nvim-linux-x86_64.tar.gz

rm nvim-linux-x86_64.tar.gzecho 'export PATH="$PATH:/opt/nvim-linux-x86_64/bin"' >> ~/.bashrc
source ~/.bashrcecho 'export PATH="$PATH:/opt/nvim-linux-x86_64/bin"' >> ~/.zshrc
source ~/.zshrcnvim --version
# NVIM v0.12.2
# Build type: Release
# LuaJIT 2.1.1774638290
# Run "nvim -V1 -v" for more info起動
nvim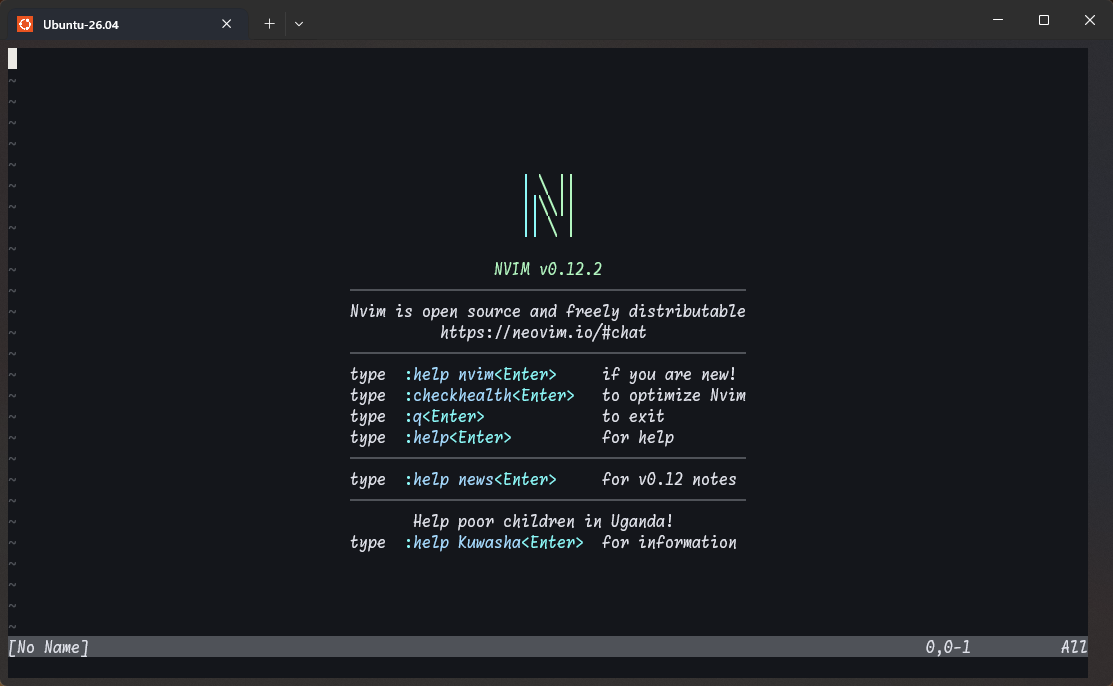
vimと同様、:qを入力して終了します。
設定
~/.config/nvim/init.luaに設定を記述します。
vim.opt.number = true
vim.opt.relativenumber = true

vim.opt.tabstop = 4
vim.opt.shiftwidth = 4
vim.opt.expandtab = true

vim.opt.ignorecase = true
vim.opt.smartcase = true

vim.opt.clipboard = "unnamedplus"

vim.g.mapleader = " "
vim.keymap.set("n", "<leader>w", "<cmd>write<CR>", { desc = "Save file" })
vim.keymap.set("n", "<leader>q", "<cmd>quit<CR>", { desc = "Quit" })

vim.api.nvim_create_autocmd("BufReadPost", {
    callback = function()
        local mark = vim.api.nvim_buf_get_mark(0, '"')
        local line_count = vim.api.nvim_buf_line_count(0)

        if mark[1] > 0 and mark[1] <= line_count then
            pcall(vim.api.nvim_win_set_cursor, 0, mark)
        end
    end,
})nvim ~/.config/nvim/init.lua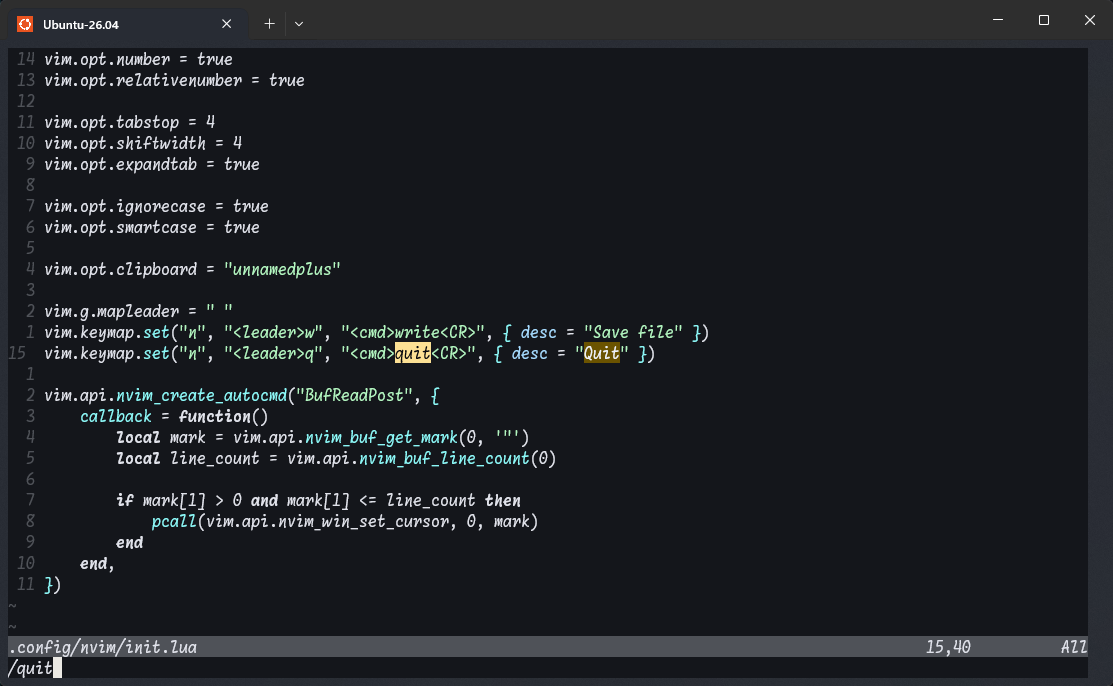
各設定のについて
vim.opt.number = true
左端に行番号を表示します。vim.opt.relativenumber = true
カーソル行からの相対行番号を表示します。numberと併用すると、カーソル行は絶対行番号、それ以外は相対行番号になり、5jやd3jのような移動・編集の行数を数えやすくなります。vim.opt.tabstop = 4
ファイル内にあるタブ文字を、画面上で4文字幅として扱います。vim.opt.shiftwidth = 4
自動インデントや>>、<<で増減するインデント幅を4文字にします。vim.opt.expandtab = true
挿入モードでTabを押したとき、タブ文字ではなくスペースを入力します。vim.opt.ignorecase = true
/や?で検索するとき、大文字小文字を区別しません。vim.opt.smartcase = true
ignorecaseが有効な状態でも、検索語に大文字が含まれる場合は大文字小文字を区別します。たとえばfooはFooにも一致し、Fooは大文字小文字の並びが一致する候補に絞られます。vim.opt.clipboard = "unnamedplus"
通常なら無名レジスタに入るヤンク、削除、変更、貼り付けをシステムクリップボードの+レジスタに変更します。OS側のコピー・貼り付けと連携しやすくなります。vim.g.mapleader = " "
<leader>キーをスペースにします。vim.keymap.set("n", "<leader>w", "<cmd>write<CR>", { desc = "Save file" })
ノーマルモードでspace、wの順に押すと:writeを実行して保存します。descは:mapなどに表示される説明です。vim.keymap.set("n", "<leader>q", "<cmd>quit<CR>", { desc = "Quit" })
ノーマルモードでspace、qの順に押すと:quitを実行して終了します。vim.api.nvim_create_autocmd("BufReadPost", ...)
ファイルを読み込んだ直後に処理を実行します。ここでは、前回そのファイルを閉じたときのカーソル位置へ戻す処理を設定しています。
LazyVim starterを使う
Neovimの設定はゼロから構築することもできますが、まずはLazyVim/starterやNvChad/starter、AstroNvim/templateのように、ある程度整った構成を触ってみると、何ができるかわかるので(私のような初心者には)オススメです。
-
LazyVim / starter
2K1.5K2026年8月24日(月) 時点 -
NvChad / starter
3418992026年8月24日(月) 時点 -
AstroNvim / template
1913722026年8月24日(月) 時点
Requirements
sudo apt update
sudo apt install git curl build-essential ripgrep fd-find fzf zip

# fd (fd-find)
sudo ln -sf "$(command -v fdfind)" /usr/local/bin/fd
fd --version # fdfind 10.3.0

# lazygit
LAZYGIT_VERSION=$(curl -s "https://api.github.com/repos/jesseduffield/lazygit/releases/latest" | \grep -Po '"tag_name": *"v\K[^"]*')
LAZYGIT_ARCH=$(uname -m | sed -e 's/aarch64/arm64/')
curl -Lo lazygit.tar.gz "https://github.com/jesseduffield/lazygit/releases/download/v${LAZYGIT_VERSION}/lazygit_${LAZYGIT_VERSION}_Linux_${LAZYGIT_ARCH}.tar.gz"
tar xf lazygit.tar.gz lazygit
sudo install lazygit -D -t /usr/local/bin/
rm lazygit lazygit.tar.gz
lazygit --version # commit=009c8975beb322f9374789476ac65dfa02321fce, build date=2026-06-04T06:57:10Z, build source=binaryRelease, version=0.62.2, os=linux, arch=amd64, git version=2.53.0

# tree-sitter-cli
curl -L -o tree-sitter-cli.zip "https://github.com/tree-sitter/tree-sitter/releases/latest/download/tree-sitter-cli-linux-x64.zip"
unzip -o tree-sitter-cli.zip
chmod +x tree-sitter
sudo install -m 0755 tree-sitter /usr/local/bin/tree-sitter
rm tree-sitter tree-sitter-cli.zip
tree-sitter --version # tree-sitter 0.26.9
既存設定をバックアップする場合
すでに使っている設定をバックアップする場合は以下を実行します。
# required
mv ~/.config/nvim{,.bak}

# optional but recommended
mv ~/.local/share/nvim{,.bak}
mv ~/.local/state/nvim{,.bak}
mv ~/.cache/nvim{,.bak}
削除する場合
上記で紹介した設定しかしていない場合は、~/.config/nvim/を削除してしまいましょう。
rm -rf ~/.config/nvimgit clone --depth 1 https://github.com/LazyVim/starter ~/.config/nvim
rm -rf ~/.config/nvim/.gitrm -rf ~/.config/nvim/.gitをしておくと、後で自分の設定リポジトリとして管理しやすくなります。
LazyVim starterの構成
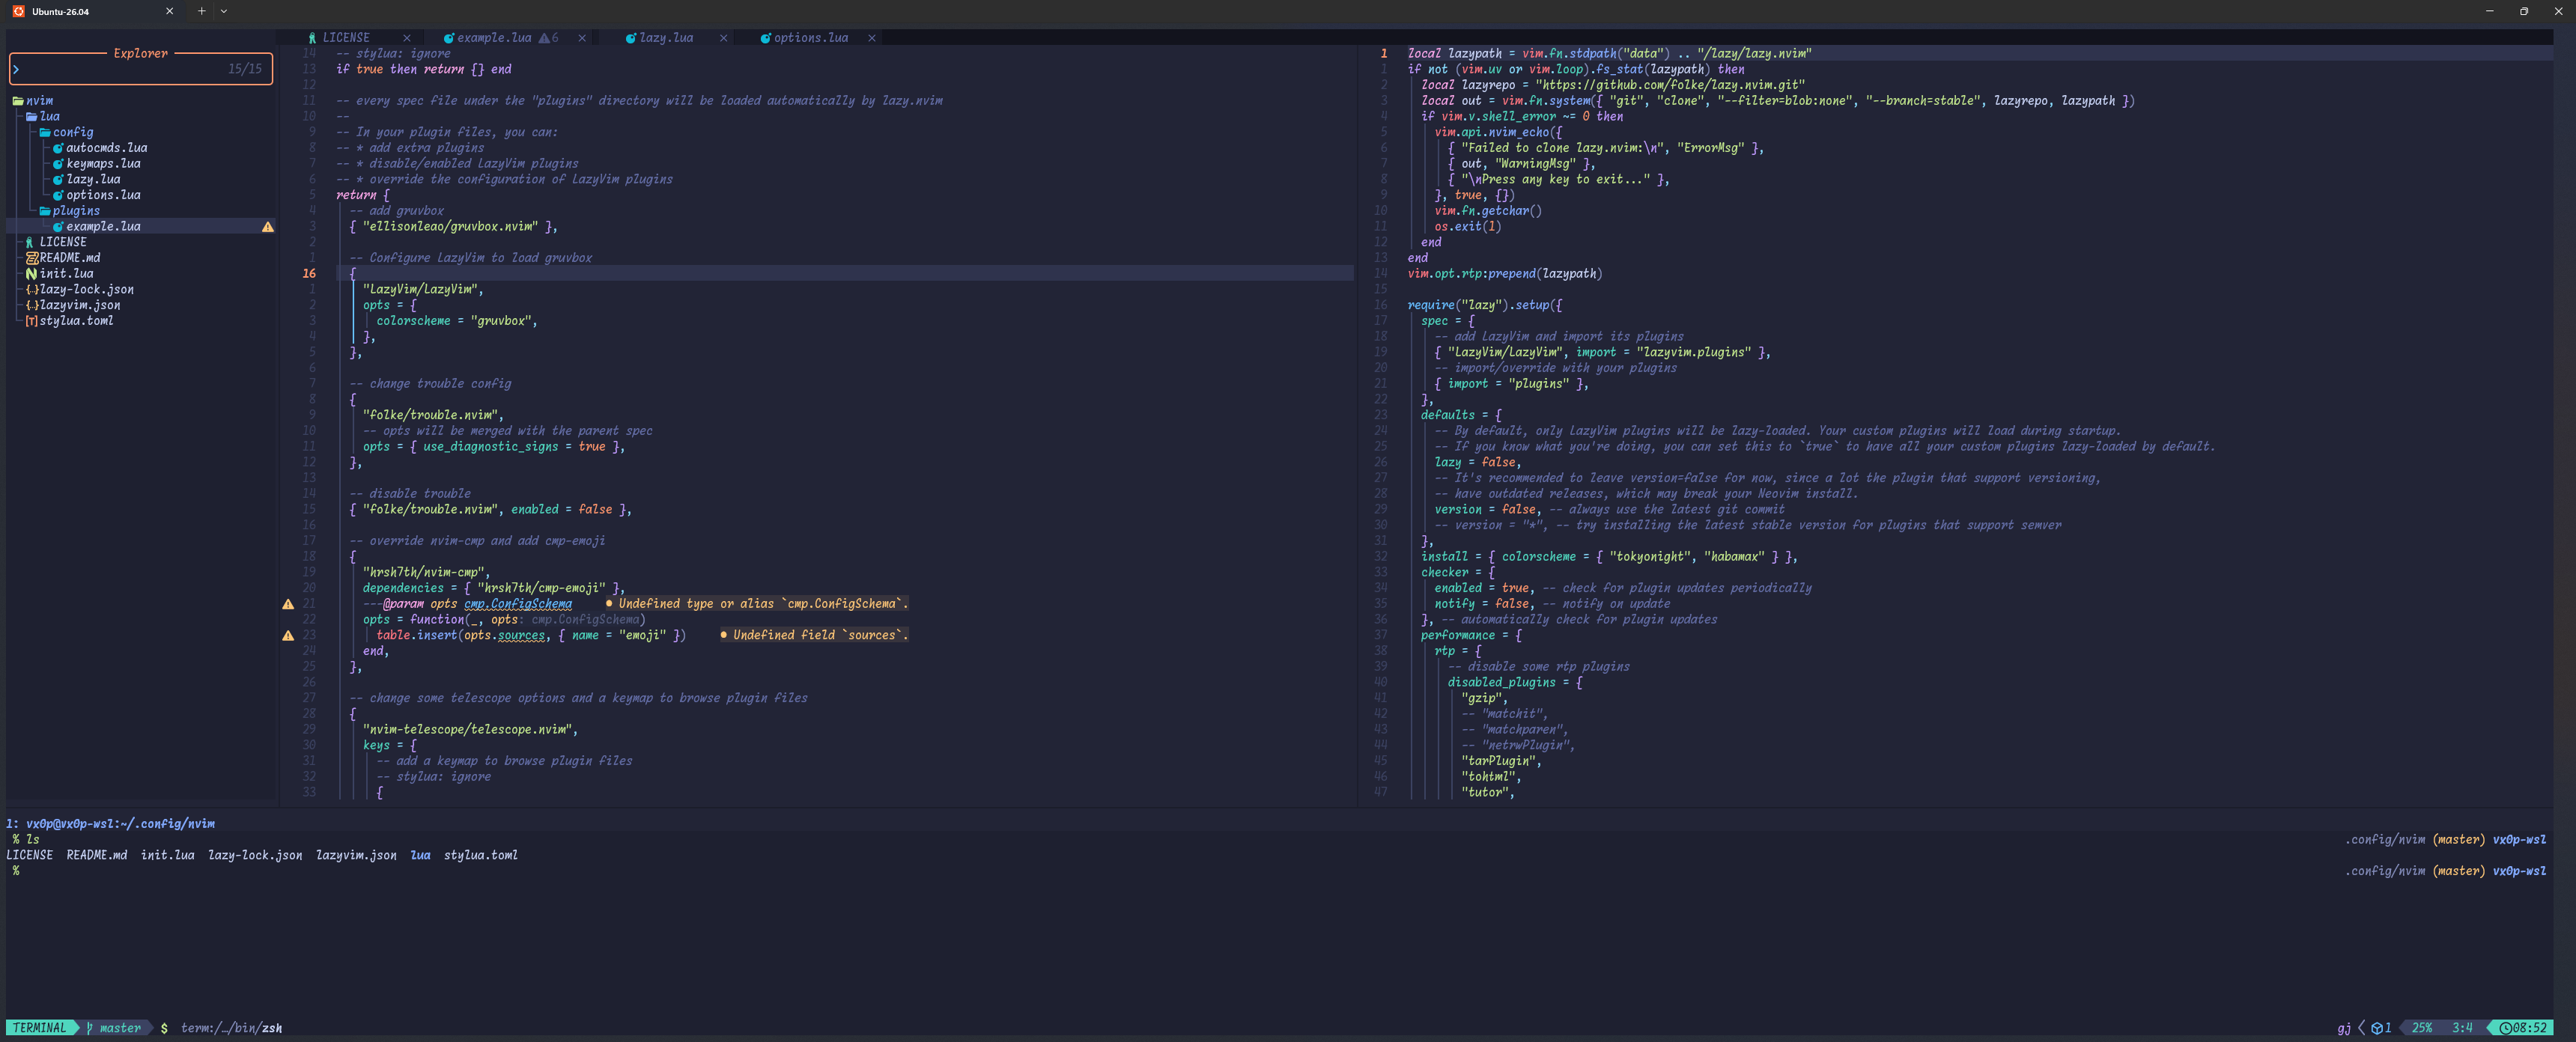
LazyVimの標準設定を読み込みつつ、lua/configとlua/pluginsへ設定を足していきます。
nvim起動後に表示される、(見切れていることが多い)右上の通知の履歴は:Noice、またはエラーに絞って:Noice errorsで確認できます。
init.lua
starterのinit.luaはlua/config/lazy.luaの読み込みだけです。
-- bootstrap lazy.nvim, LazyVim and your plugins
require("config.lazy")
lua/config/lazy.lua
lazy.luaは、lazy.nvim、LazyVim本体、プラグイン設定の読み込みが中心です。
local lazypath = vim.fn.stdpath("data") .. "/lazy/lazy.nvim"
if not (vim.uv or vim.loop).fs_stat(lazypath) then
  local lazyrepo = "https://github.com/folke/lazy.nvim.git"
  local out = vim.fn.system({ "git", "clone", "--filter=blob:none", "--branch=stable", lazyrepo, lazypath })
  if vim.v.shell_error ~= 0 then
    vim.api.nvim_echo({
      { "Failed to clone lazy.nvim:\n", "ErrorMsg" },
      { out, "WarningMsg" },
      { "\nPress any key to exit..." },
    }, true, {})
    vim.fn.getchar()
    os.exit(1)
  end
end
vim.opt.rtp:prepend(lazypath)

require("lazy").setup({
  spec = {
    -- add LazyVim and import its plugins
    { "LazyVim/LazyVim", import = "lazyvim.plugins" },
    -- import/override with your plugins
    { import = "plugins" },
  },
  defaults = {
    -- By default, only LazyVim plugins will be lazy-loaded. Your custom plugins will load during startup.
    -- If you know what you're doing, you can set this to `true` to have all your custom plugins lazy-loaded by default.
    lazy = false,
    -- It's recommended to leave version=false for now, since a lot the plugin that support versioning,
    -- have outdated releases, which may break your Neovim install.
    version = false, -- always use the latest git commit
    -- version = "*", -- try installing the latest stable version for plugins that support semver
  },
  install = { colorscheme = { "tokyonight", "habamax" } },
  checker = {
    enabled = true, -- check for plugin updates periodically
    notify = false, -- notify on update
  }, -- automatically check for plugin updates
  performance = {
    rtp = {
      -- disable some rtp plugins
      disabled_plugins = {
        "gzip",
        -- "matchit",
        -- "matchparen",
        -- "netrwPlugin",
        "tarPlugin",
        "tohtml",
        "tutor",
        "zipPlugin",
      },
    },
  },
})
lua/config/options.lua
options.luaは、Neovim標準オプションを上書きする場所です。コメントだけが書かれており、LazyVimのオプションに足したいものをここへ書きます。
-- Options are automatically loaded before lazy.nvim startup
-- Default options that are always set: https://github.com/LazyVim/LazyVim/blob/main/lua/lazyvim/config/options.lua
-- Add any additional options here

vim.opt.whichwrap = "<,>,[,],h,l,b,s"
たとえば、行末から次の行頭へ移動できるようにする、というような設定はここで変更します。
lua/config/keymaps.lua
keymaps.luaは、自分のキーマップを足す場所です。
-- Keymaps are automatically loaded on the VeryLazy event
-- Default keymaps that are always set: https://github.com/LazyVim/LazyVim/blob/main/lua/lazyvim/config/keymaps.lua
-- Add any additional keymaps here
lua/config/autocmds.lua
autocmds.luaは、イベントに応じて実行する処理を追加する場所です。
-- Autocmds are automatically loaded on the VeryLazy event
-- Default autocmds that are always set: https://github.com/LazyVim/LazyVim/blob/main/lua/lazyvim/config/autocmds.lua
--
-- Add any additional autocmds here
-- with `vim.api.nvim_create_autocmd`
--
-- Or remove existing autocmds by their group name (which is prefixed with `lazyvim_` for the defaults)
-- e.g. vim.api.nvim_del_augroup_by_name("lazyvim_wrap_spell")
lua/plugins/example.lua
lua/plugins/下は、LazyVimの標準プラグイン構成を変更する場所です。
starterにはexample.luaがありますが、先頭で空のspecを返す(if true then return {} end)ため、そのままでは読み込まれません。
まとめ
| パス | 役割 |
|---|---|
lua/config/options.lua | Neovim本体のオプションを変える |
lua/config/keymaps.lua | 自分のキーマップを足す |
lua/config/autocmds.lua | イベント処理を足す |
lua/plugins/*.lua | プラグインの変更 |
設定変更後に調子が悪いときは、:LazyHealthで確認します。
LazyVim以外を試す
NvChad
git clone --depth 1 https://github.com/NvChad/starter ~/.config/nvim-nvchad設定ディレクトリとしてnvim-nvchadを指定して起動します。
NVIM_APPNAME=nvim-nvchad nvimAstroNvim
git clone --depth 1 https://github.com/AstroNvim/template ~/.config/nvim-astro設定ディレクトリとしてnvim-astroを指定して起動します。
NVIM_APPNAME=nvim-astro nvim